Mapping the Self
A collection of 3 studies of the self answering the followings: who you think you are, how others perceive you, and who you are based on the researches and interviews managed. This is the first part to the project of mapping Self and Other, followed by “Mapping the Other.”
Who you are & who you think you are
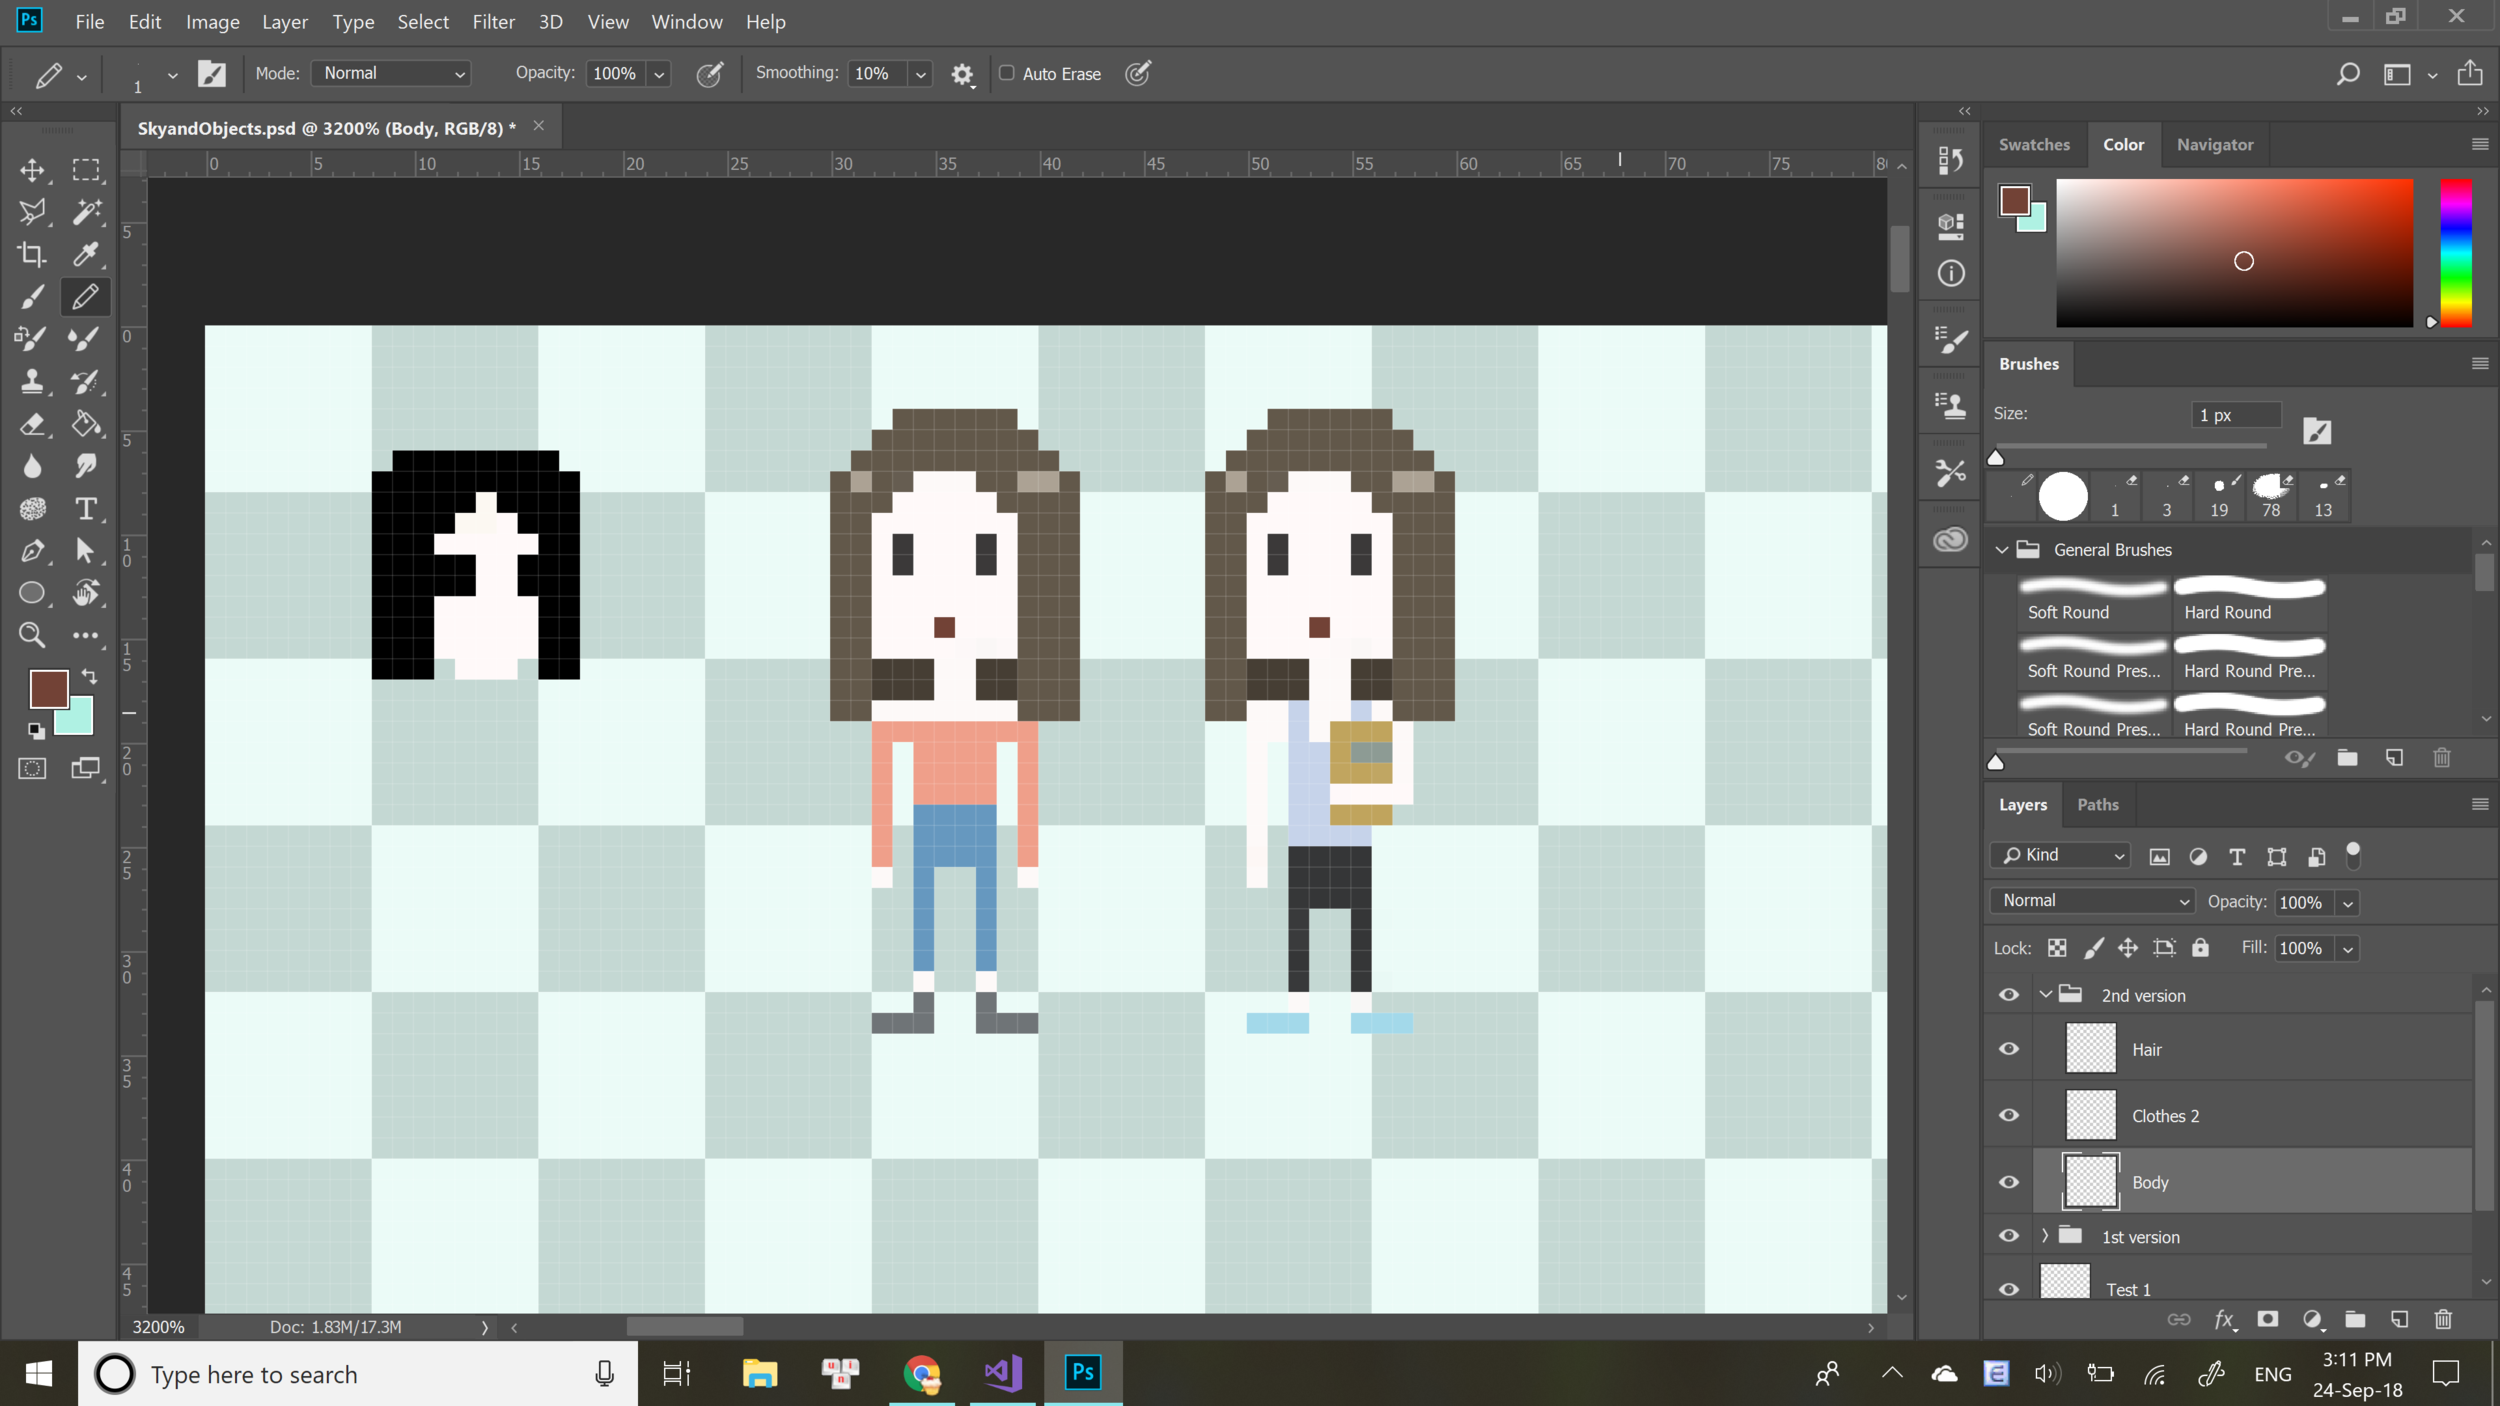
Since “who I am” and “who I think I am” exist in parallel to me, I figured that I should include both of these sides in the same format. In Processing, I made a sketch of these two versions of me. On the left is “who I am,” represented isolated from others, surrounded by the nature she creates, thinks more than she says. On the other side is “who I think I am,” who would be more lively, more talkative, surrounded by people. This project is based on my answers to the 10 interview questions and an individual research of 20 references.
Process:
In Adobe Photoshop CC, I sketched out the character versions and continue to design their background elements, using the pencil tool. After having the illustrations fit my liking, I resize them to the actual size I wanted.
While drawing, I like to jump back and forth from Photoshop to the Processing sketch. I create my illustrations along with my code to keep things exciting.
While testing, I switch the states of the character so that she looks different on either side of the screen. I coordinate the color of the background to how I view myself in each version: true blue me (left) and through a pair of pink glasses (right.)
After finishing the core elements of interactions in the code, I added the illustrations made for the background and finish up the project.
Who people think you are
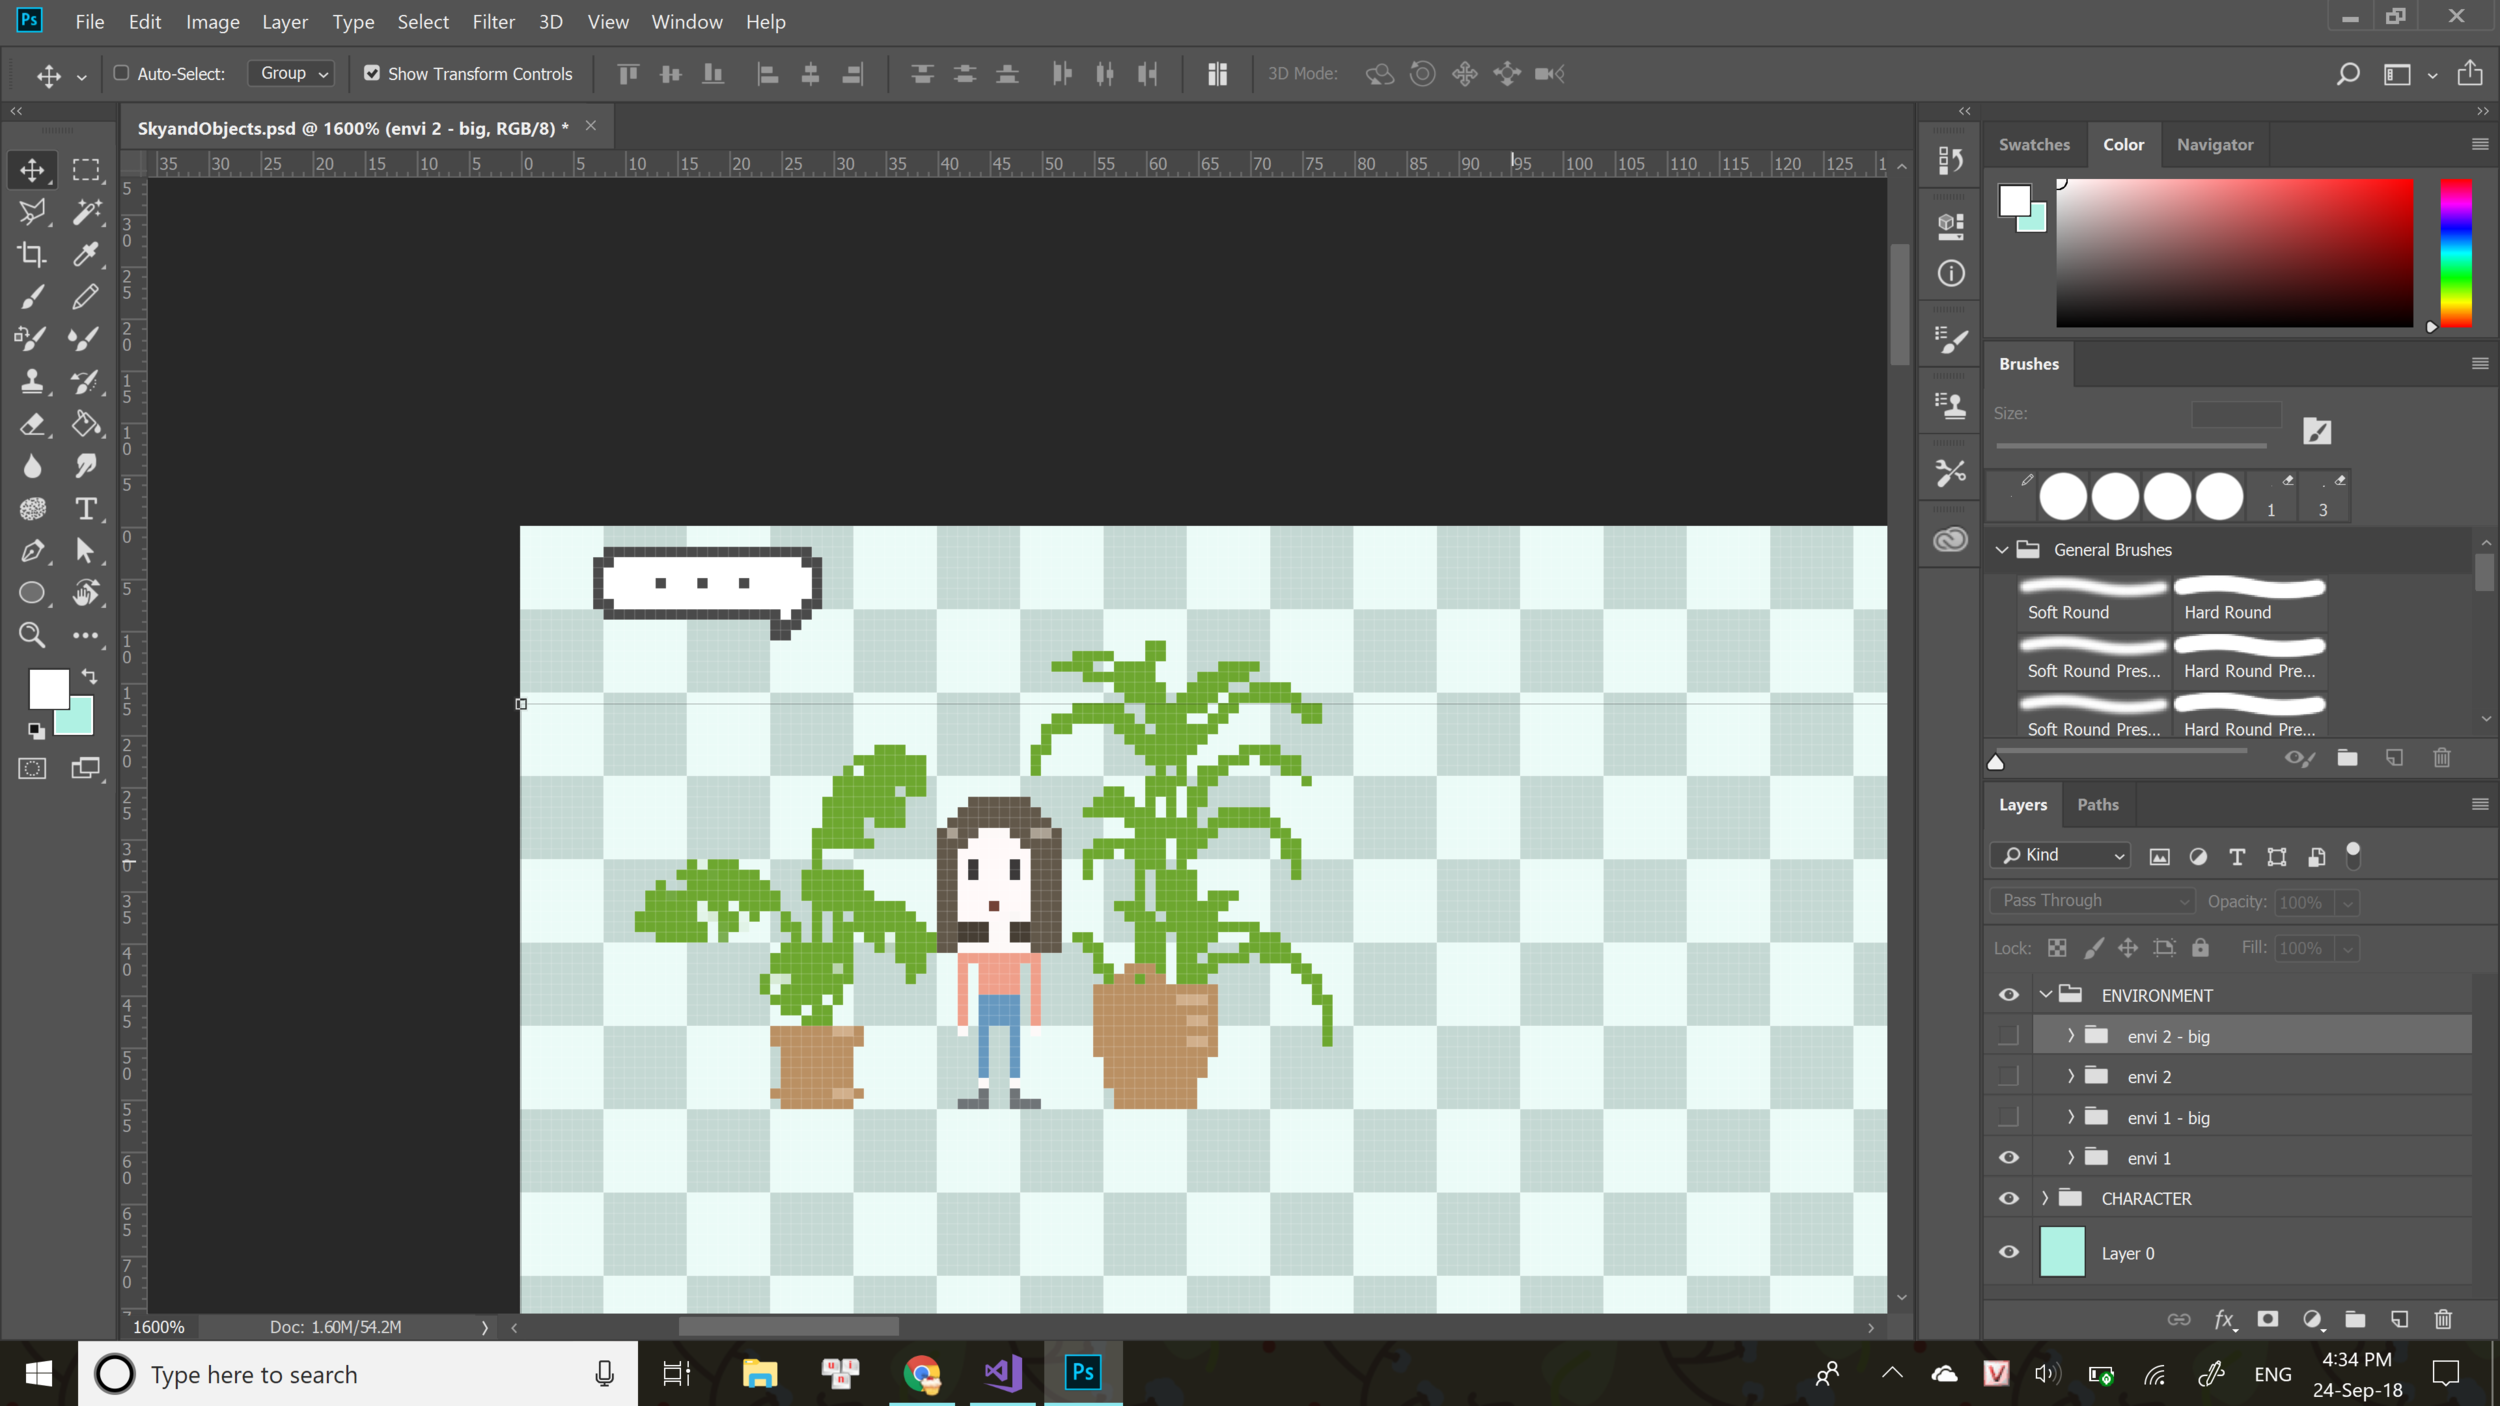
Based on the four audio interviews, I created an interactive visual, showing how people see me. This project is made via Processing, with illustrated components made in Autodesk SketchBook and Adobe Photoshop CC. Since I did four interviews, the idea that the overall view of this visual should have a similar format with a 2×2 frame comic arise.
Process:
Firstly, I hand draw all the characters–including myself and four interviewees–using Autodesk SketchBook. The style of these characters is kept in a neat yet messy way to illustrate a comic-like feeling.
Character sketch development: from sketch, line, to color.
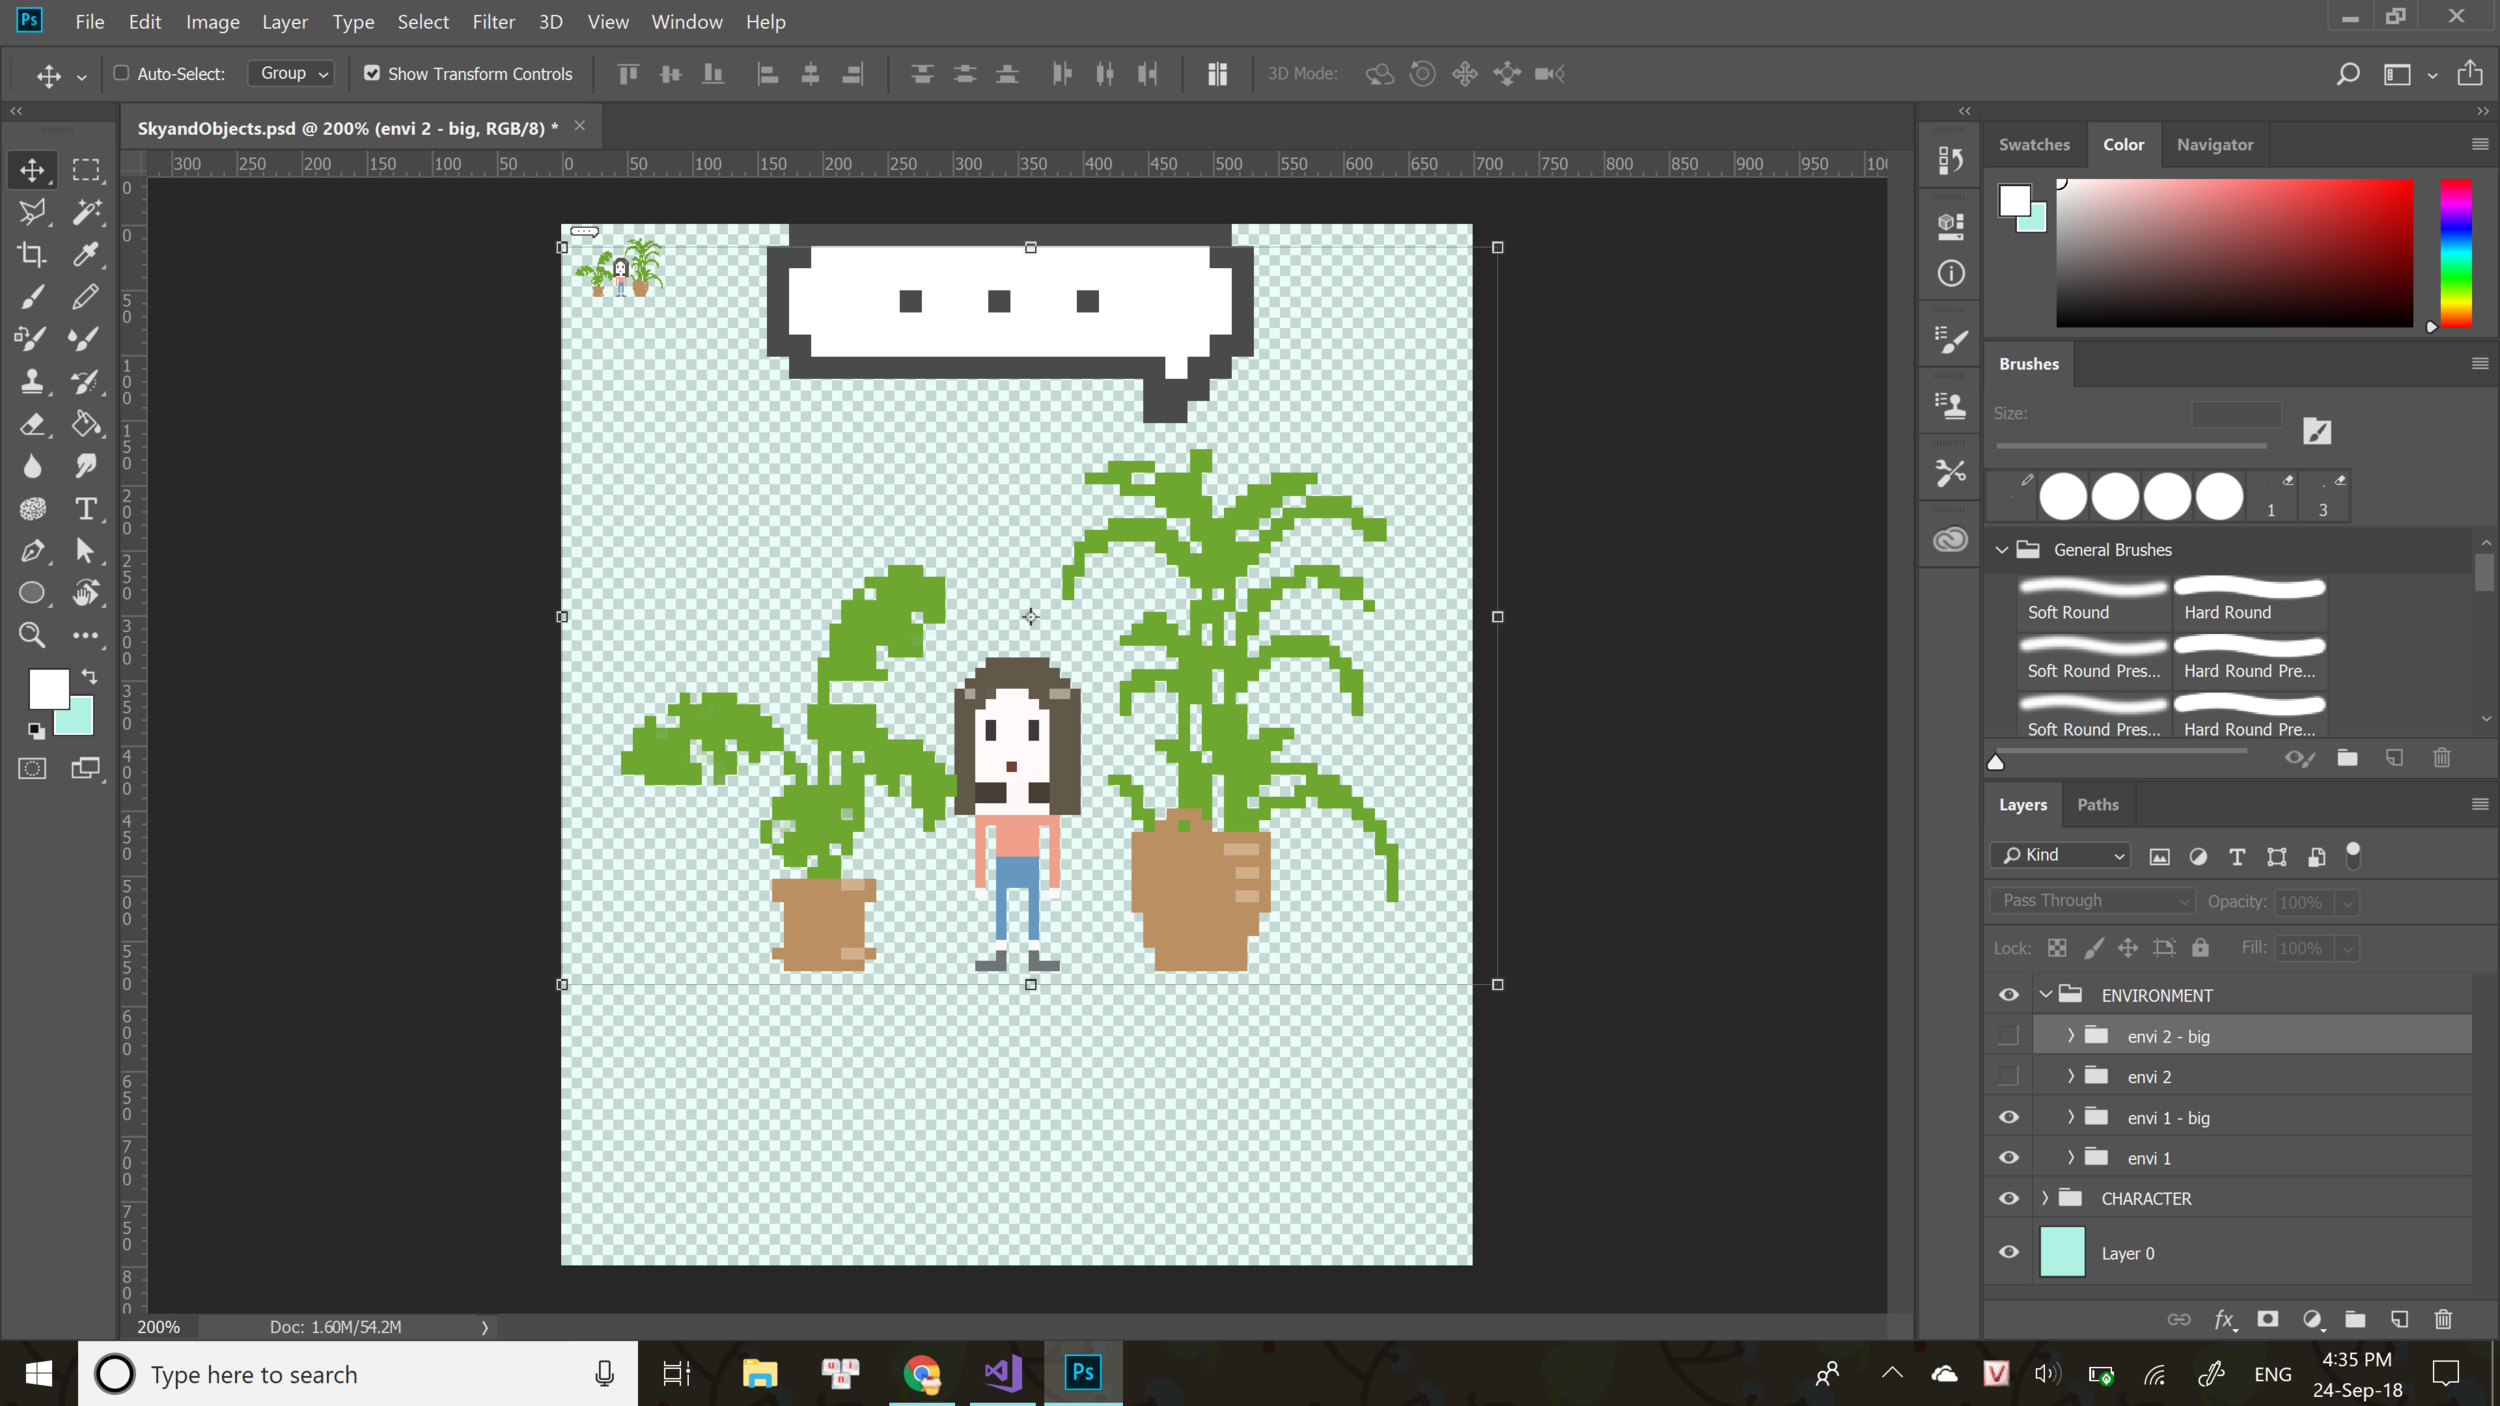
In Processing, I sketch out how I want the visual to work. The main goals to make visual successful are the followings: (1) make a 4 square frame for the comic, (2) make the character Sky move from frame to frame via directed movement (from mouse or keys,) and (3) the words pops up when character Sky is in the frame.
In the first test, I have successfully created the frame like how I imagined and placed all the characters where they should be. Since the PNG to each person is not equal to each other, some adjustments were made in the code to resize them. The character Sky was able to move using mouse position.
Next, using boolean and if/else statements, I make the remarks from each person’s interview pop up when the character Sky is in their frame.
The Processing sketch for the project is technically finished, but I wanted to go back and refine the visual to enhance its aesthetic. I continued recreating the interview’s remarks with photoshop and added it to the final version of the visual.
Editing Speaking bubbles for the characters in Photoshop